|
V3 Assembly Steps: 0 1 2 3 4 5 6 7 8 9 10 11 12 13 14 15 16 17 18 19 20 21 22 23 24 25 26 27
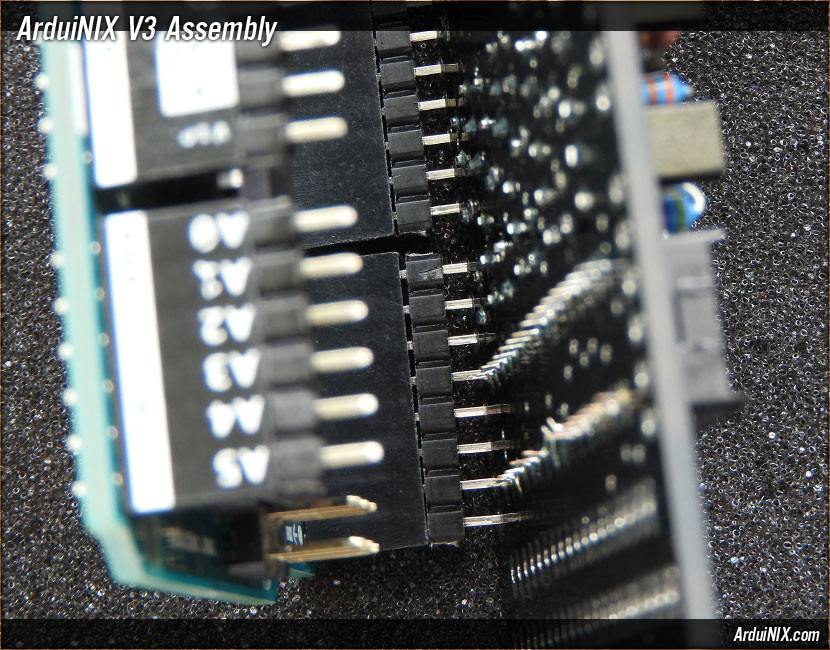
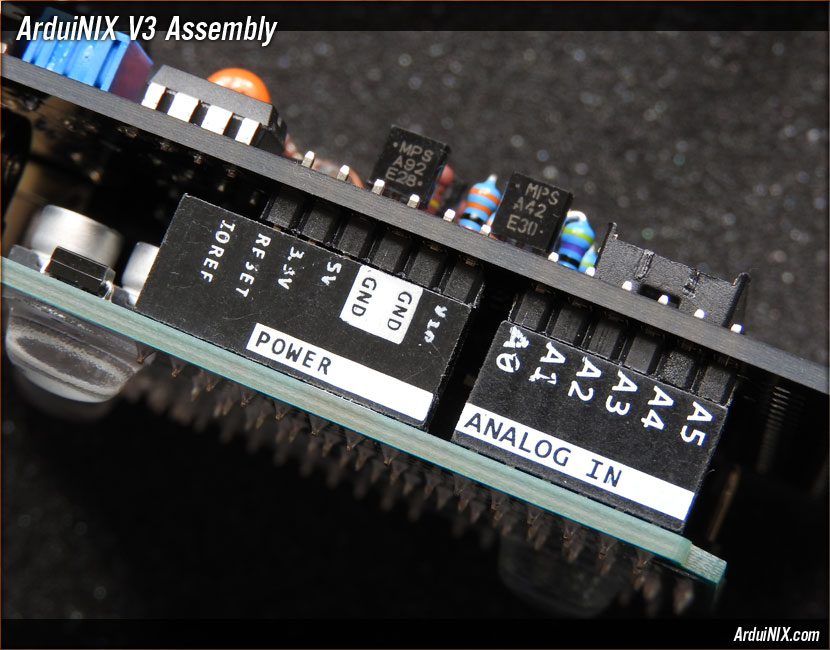
Step 23: Pin Rail Assembly: Mate the Shield to the Pins = Arduino + ArduiNIX Shield At this point, you will mate the ArduiNIX Shield to the pins placed in the proper locations on the Arduino. Begin on one side...
and press closed, aligning all the pins to their proper spots on the shield. This is the power side properly mated.
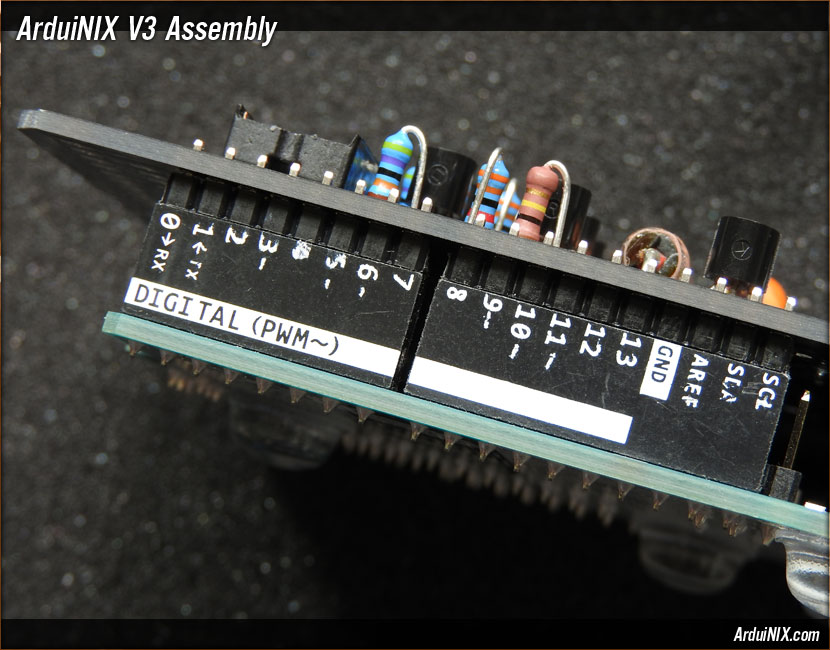
This is the data side properly mated. Here you can see the ten-pin rail section on the "SCL" to "8" data header. Once the boards are mated, solder the pins at their tabs on the top surface of the ArduiNIX Shield. Take care not to use too much solder, and not to short out any pins with their neighbors. V3 Assembly Steps: 0 1 2 3 4 5 6 7 8 9 10 11 12 13 14 15 16 17 18 19 20 21 22 23 24 25 26 27 |
|
|
|
The ArduiNIX is a RobotPirate Project; a nonentity production : Questions? Email Bradley |
||